Issue a pass
- Open Passes in the sidebar.
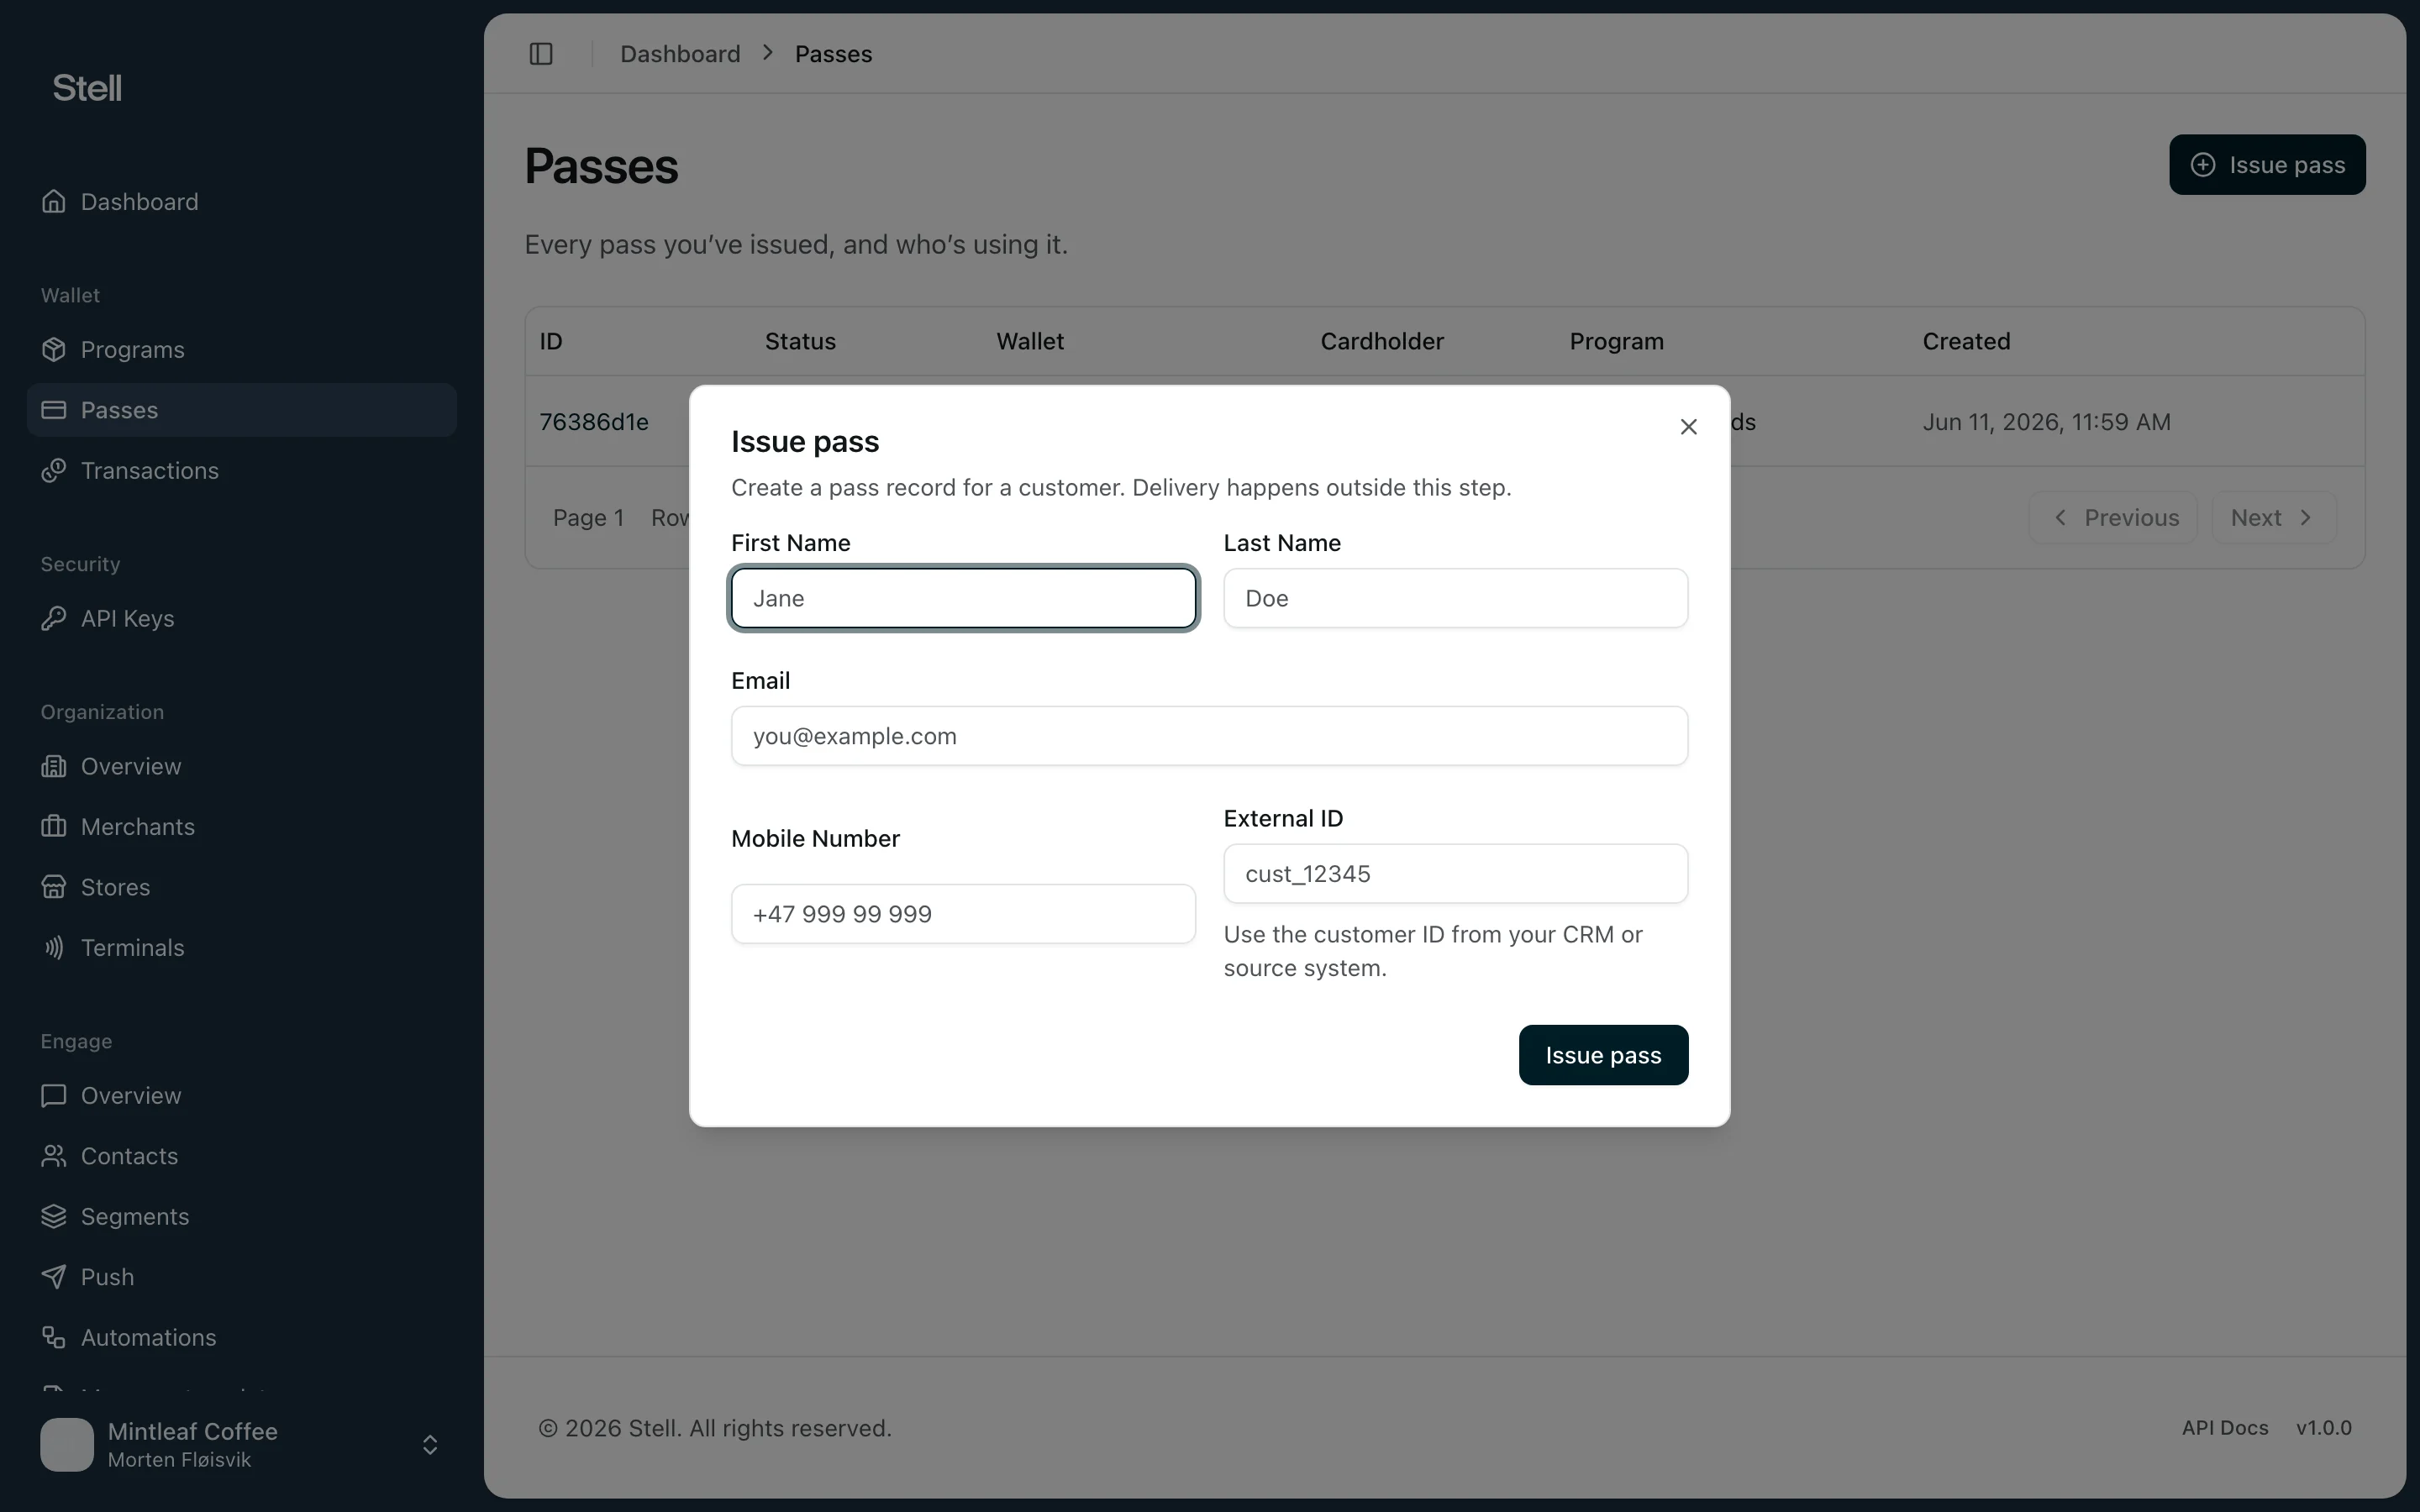
- Click Issue pass.
- Choose the Program the pass belongs to. If your company has only one program, it’s selected for you.
- Choose the Wallet: Apple Wallet (iPhone and Apple Watch) or Google Wallet (Android devices). If the program supports only one wallet, it’s selected for you.
- Fill in what you know about the customer — every field is optional:
- First Name and Last Name
- Mobile Number
- External ID — the customer’s ID from your CRM or source system, useful for matching the pass to your own records later.
- Click Issue pass.
The Issue pass button only appears when your company has at least one program that can issue passes. If you don’t see it, check your programs or contact support.
Tips
- Customer details can be added when you have them — a pass doesn’t need a name or email to work.
- Use External ID consistently if you connect Stell to your CRM or POS, so passes and customers match up across systems.