

This behavior comes with the experiences Stell hosts: the enrollment flow
and the wallet button widget. Passes
delivered another way — wallet links in
emails, or an
integration your developers build on the Stell
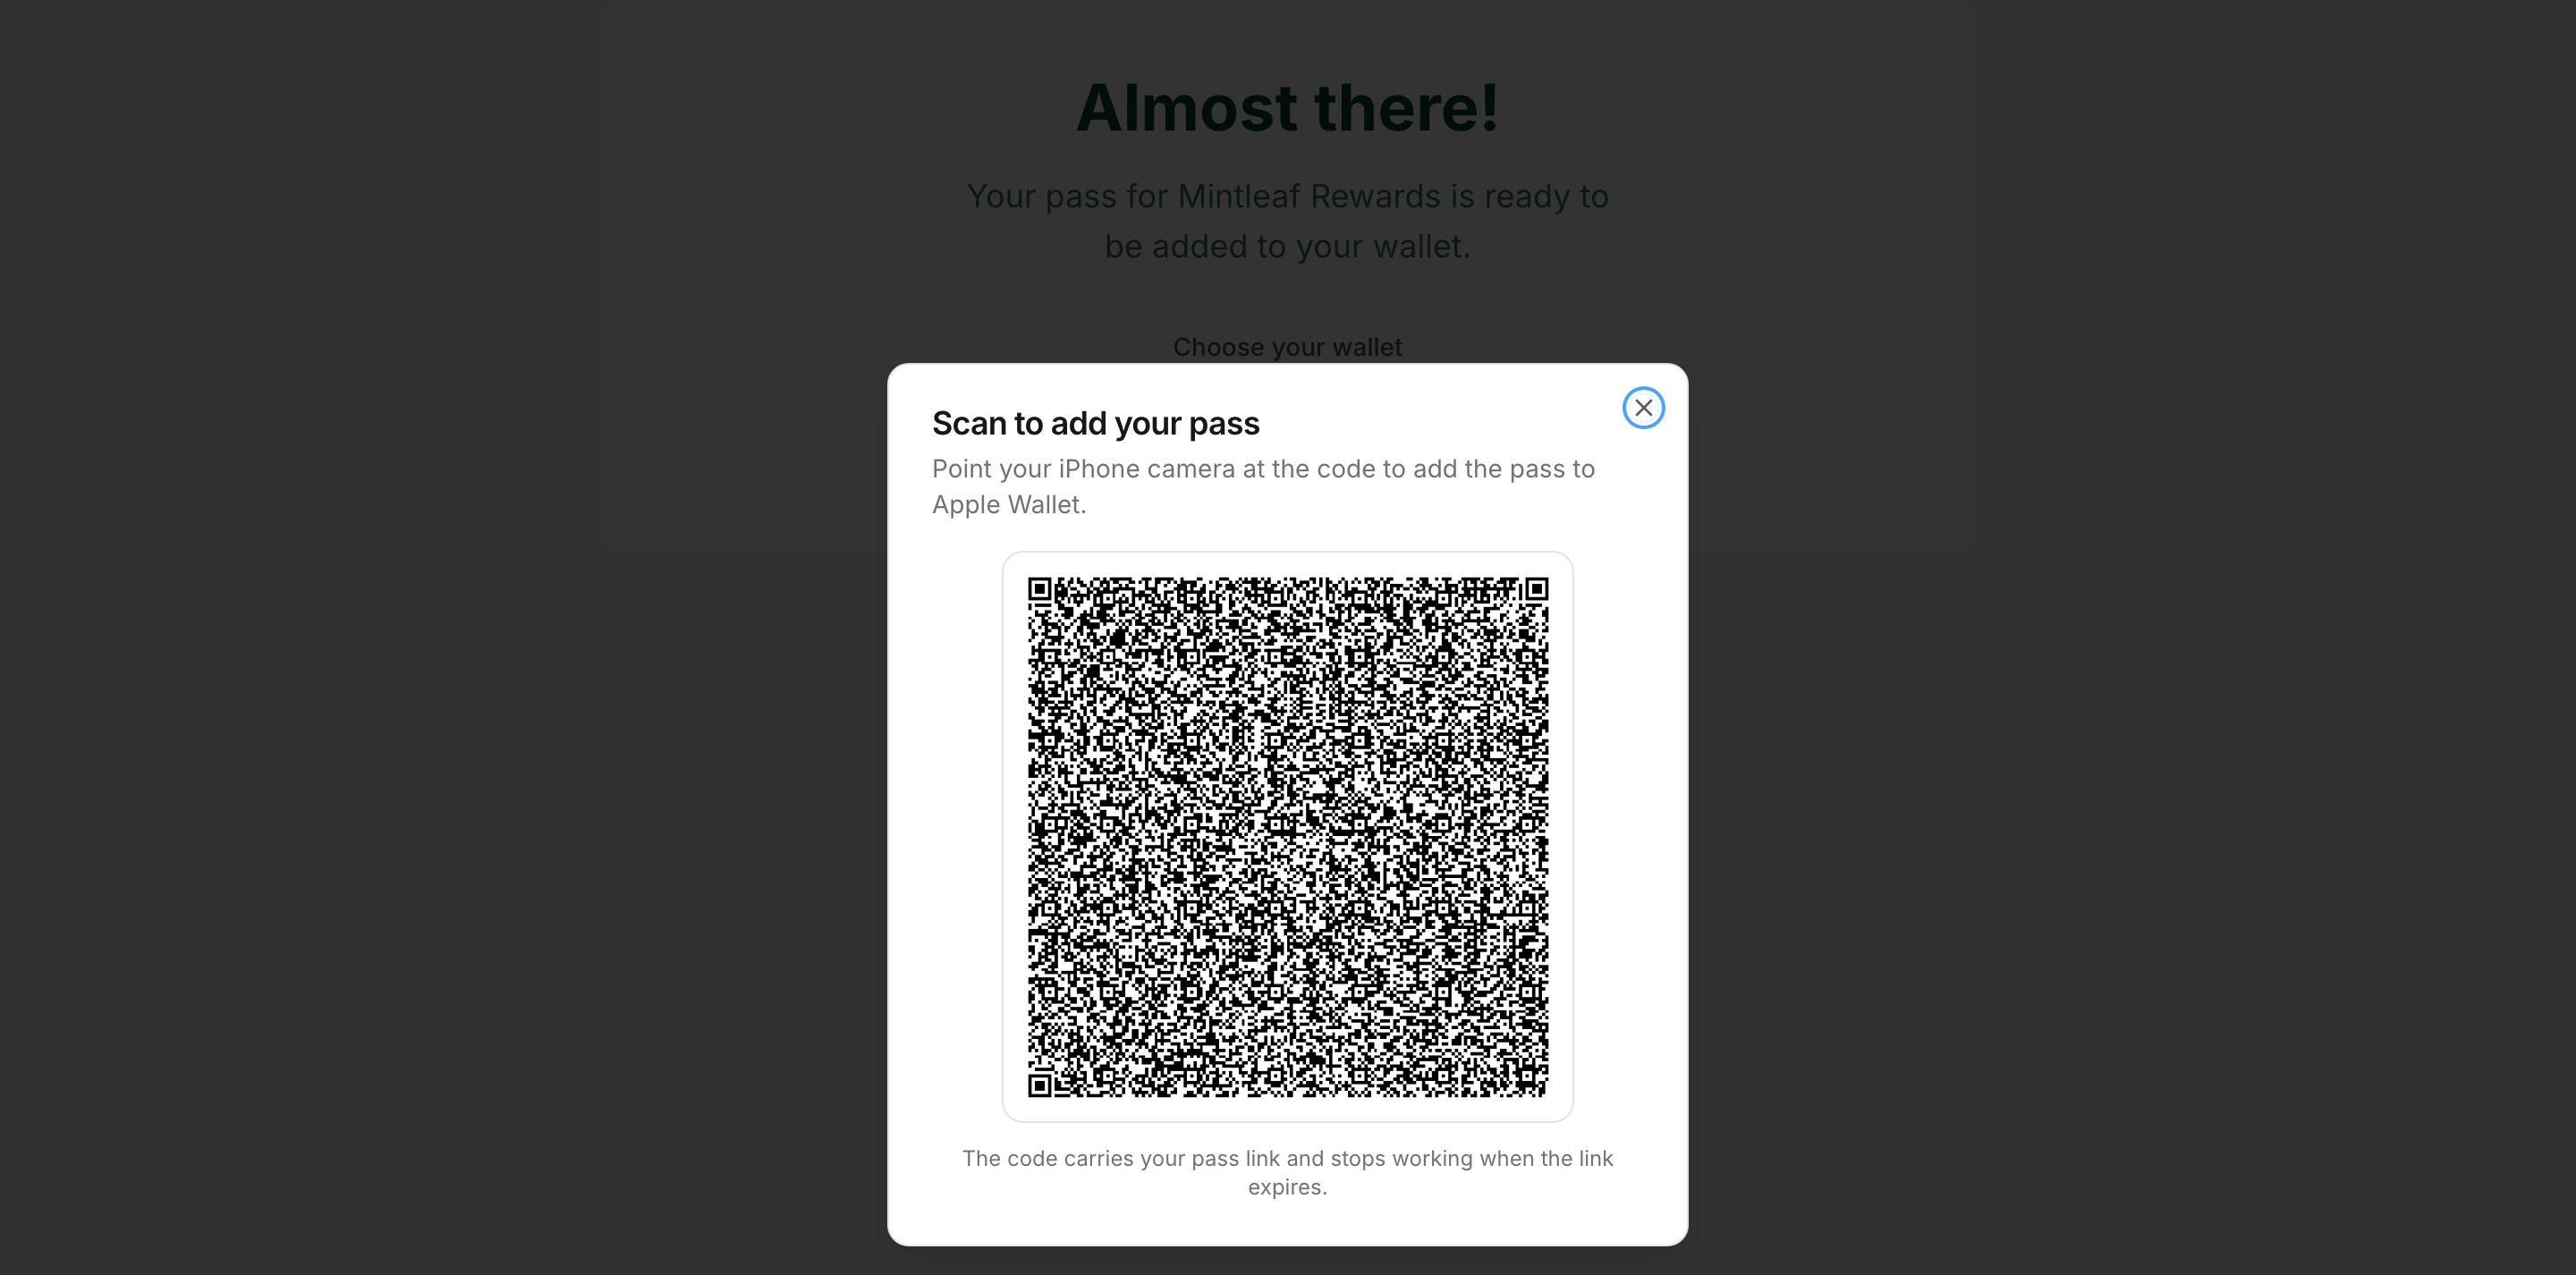
API — don’t include the QR code
hand-off. The pass link an API integration sends shows the right wallet
button for the pass, but on a computer it offers the link to copy rather
than a QR code.
- iPhone
- Android phone
- Computer
What the customer sees: the Add to Apple Wallet button — in Safari, Chrome, or any other browser. Google Wallet is never offered on iPhone (there is no Google Wallet app on iOS).What tapping does: the pass opens straight in Apple Wallet. One tap on Add and it’s done.
If your program offers only Google Wallet, an iPhone visitor instead sees “No compatible wallet is available for your device” with a suggestion to try an Android device.

- The pass is created the moment the customer taps a wallet button. The button shows a spinner while the pass is prepared.
- Each pass belongs to exactly one wallet. A customer who picks Apple Wallet gets an Apple Wallet pass, not a copy in both.