> ## Documentation Index
> Fetch the complete documentation index at: https://docs.getstell.com/llms.txt
> Use this file to discover all available pages before exploring further.
# Issue a pass
> Issue a new pass to a customer
Issuing a pass creates the pass record for a customer. How the customer receives it — for example through an enrollment link or your own systems — happens after this step.
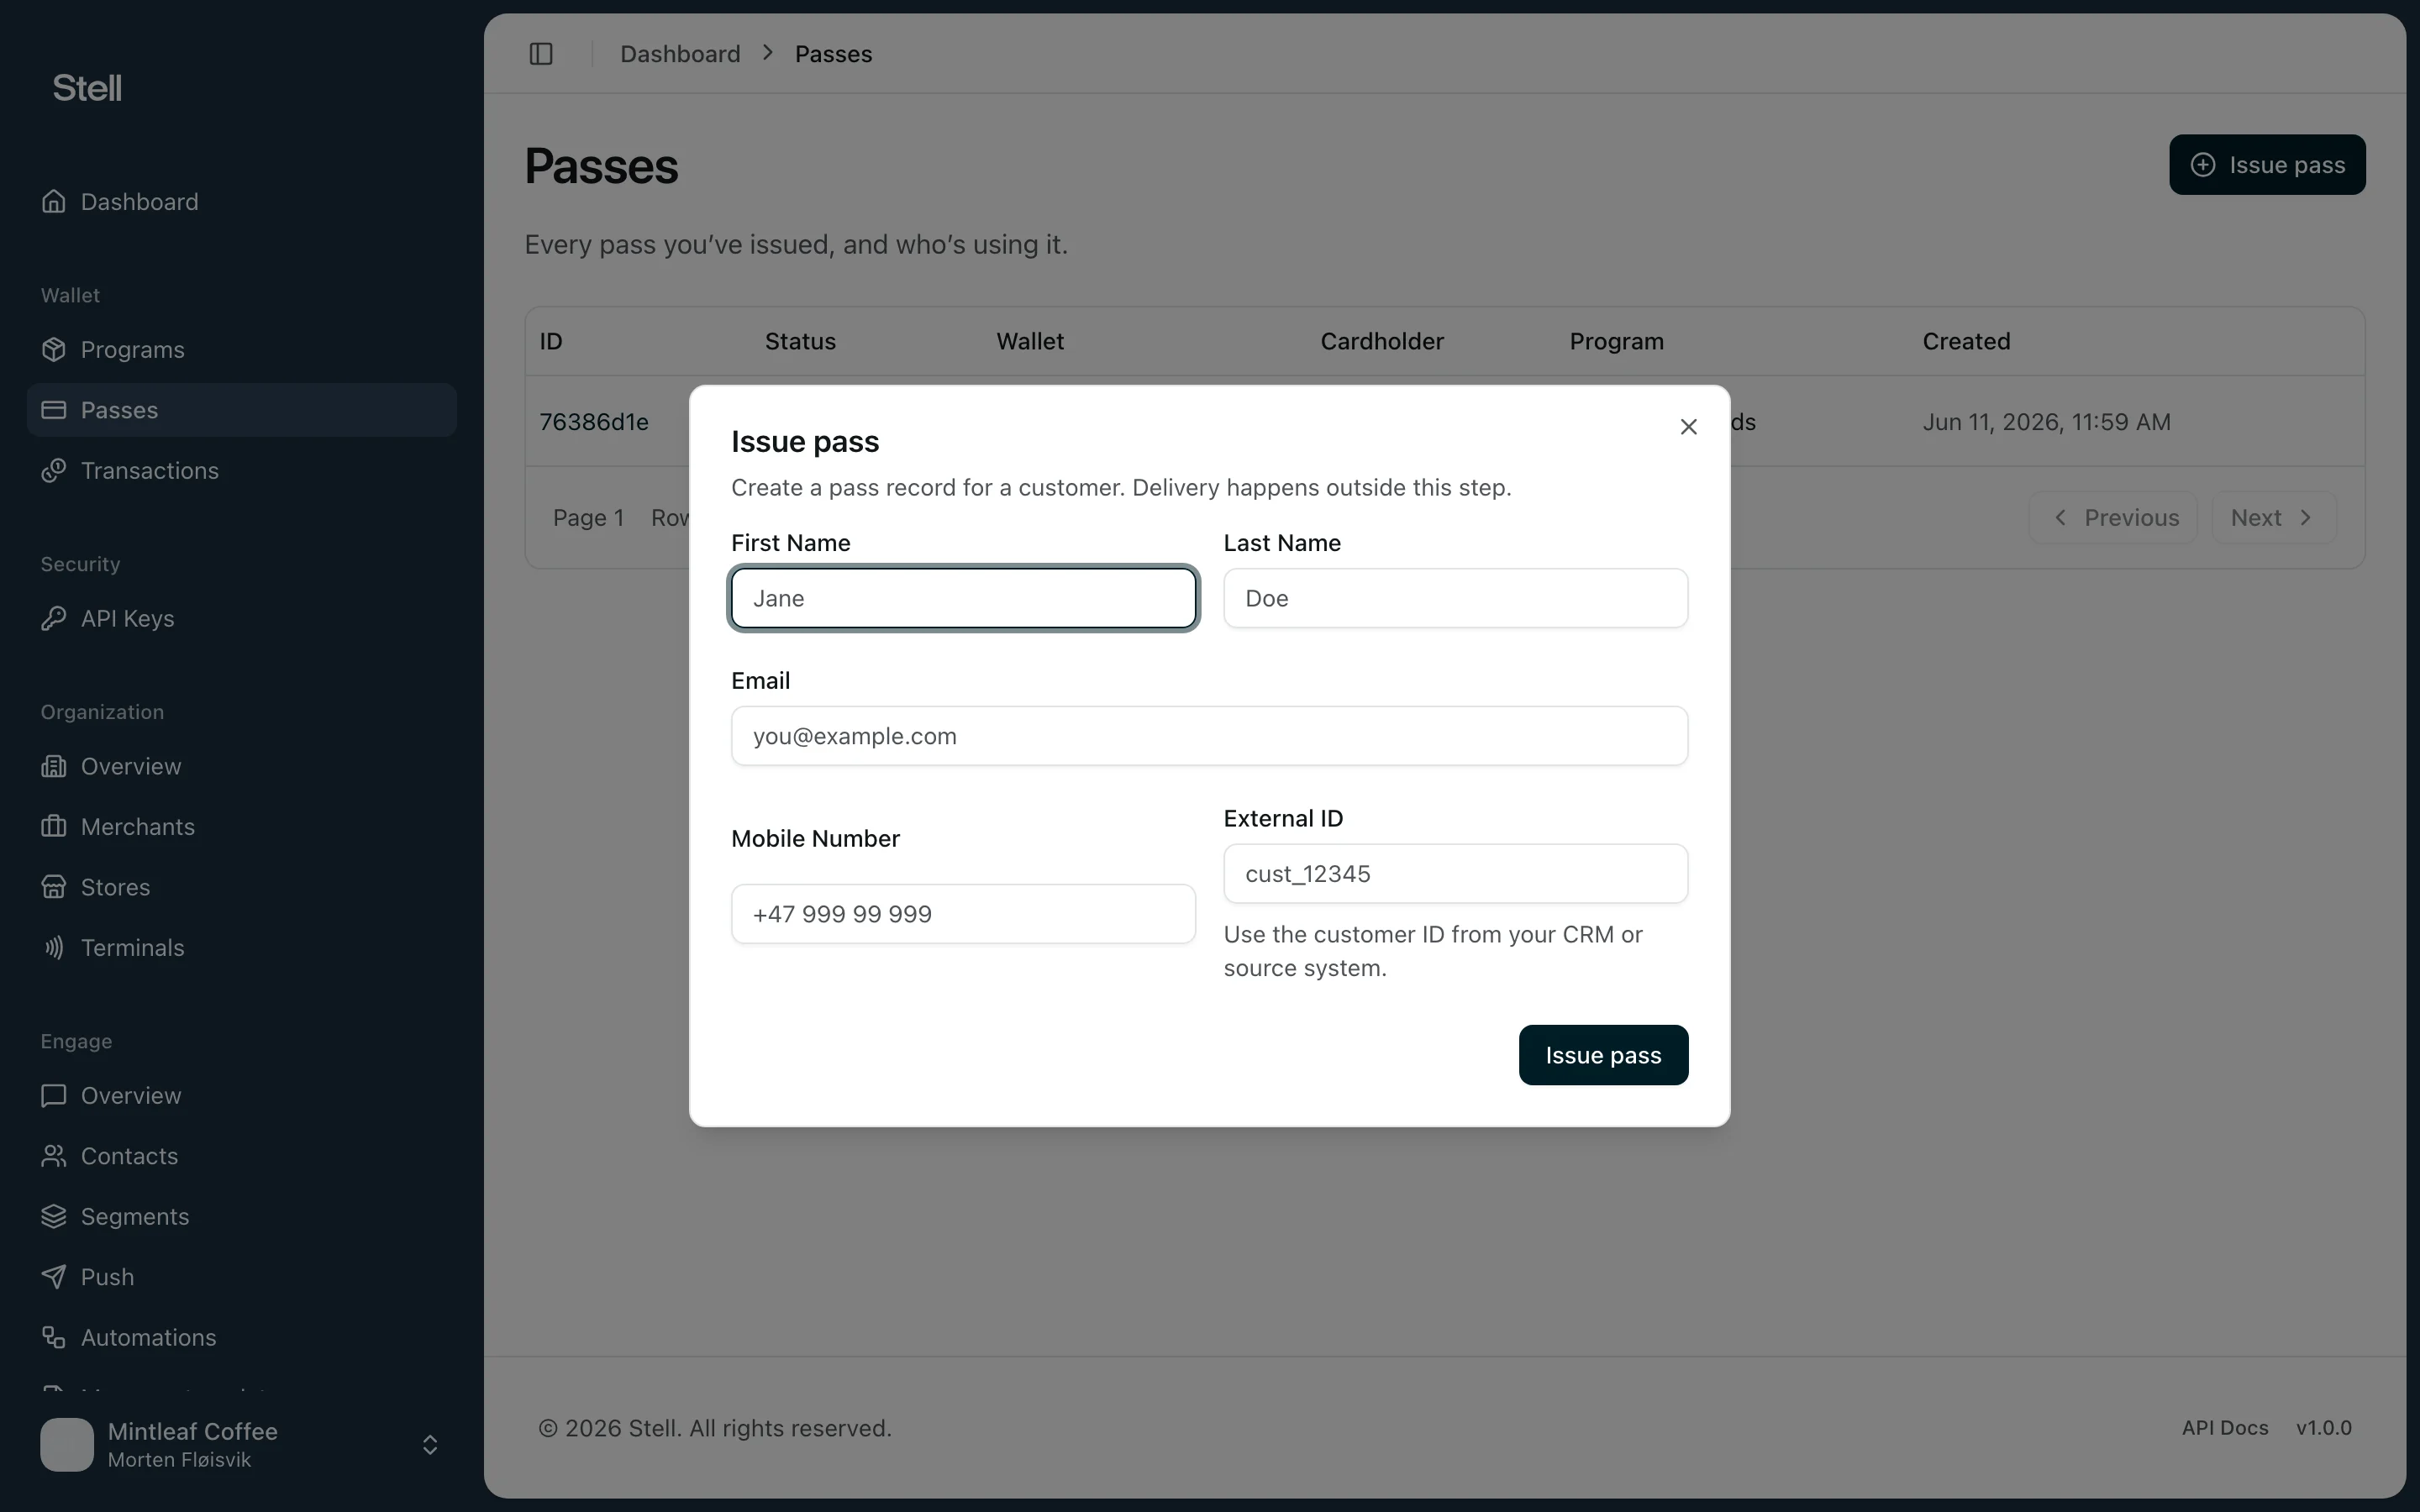 ## Issue a pass
1. Open **Passes** in the sidebar.
2. Click **Issue pass**.
3. Choose the **Program** the pass belongs to. If your company has only one program, it's selected for you.
4. Choose the **Wallet**: **Apple Wallet** (iPhone and Apple Watch) or **Google Wallet** (Android devices). If the program supports only one wallet, it's selected for you.
5. Fill in what you know about the customer — every field is optional:
* **First Name** and **Last Name**
* **Email**
* **Mobile Number**
* **External ID** — the customer's ID from your CRM or source system, useful for matching the pass to your own records later.
6. Click **Issue pass**.
The new pass appears in the passes list, and you can open it to follow its status, send notifications, or share it with the customer.
The **Issue pass** button only appears when your company has at least one program that can issue passes. If you don't see it, check your [programs](/programs/overview) or [contact support](/support/contact).
## Tips
* Customer details can be added when you have them — a pass doesn't need a name or email to work.
* Use **External ID** consistently if you connect Stell to your CRM or POS, so passes and customers match up across systems.
## Issue a pass
1. Open **Passes** in the sidebar.
2. Click **Issue pass**.
3. Choose the **Program** the pass belongs to. If your company has only one program, it's selected for you.
4. Choose the **Wallet**: **Apple Wallet** (iPhone and Apple Watch) or **Google Wallet** (Android devices). If the program supports only one wallet, it's selected for you.
5. Fill in what you know about the customer — every field is optional:
* **First Name** and **Last Name**
* **Email**
* **Mobile Number**
* **External ID** — the customer's ID from your CRM or source system, useful for matching the pass to your own records later.
6. Click **Issue pass**.
The new pass appears in the passes list, and you can open it to follow its status, send notifications, or share it with the customer.
The **Issue pass** button only appears when your company has at least one program that can issue passes. If you don't see it, check your [programs](/programs/overview) or [contact support](/support/contact).
## Tips
* Customer details can be added when you have them — a pass doesn't need a name or email to work.
* Use **External ID** consistently if you connect Stell to your CRM or POS, so passes and customers match up across systems.