> ## Documentation Index
> Fetch the complete documentation index at: https://docs.getstell.com/llms.txt
> Use this file to discover all available pages before exploring further.
# Automations
> Set up messages that trigger automatically on customer events
An **automation** is a push message that sends itself when something happens — a customer adds your pass, has a birthday, or reaches a points threshold. Set it up once, and it keeps running until you pause it.
 ## Triggers
| Trigger | Fires |
| -------------------- | ------------------------------------------------------------------------------------------- |
| **Pass Installed** | When a new pass is added to a wallet — optionally delayed by a number of hours |
| **Birthday** | On or around the contact's birthday — use days before or after (for example, 7 days before) |
| **Pass Anniversary** | On the anniversary of the pass installation |
| **Inactive Days** | When a contact hasn't engaged for a number of days |
| **Points Earned** | When points reach a threshold |
| **Tier Changed** | When the customer's loyalty tier changes |
## Create an automation
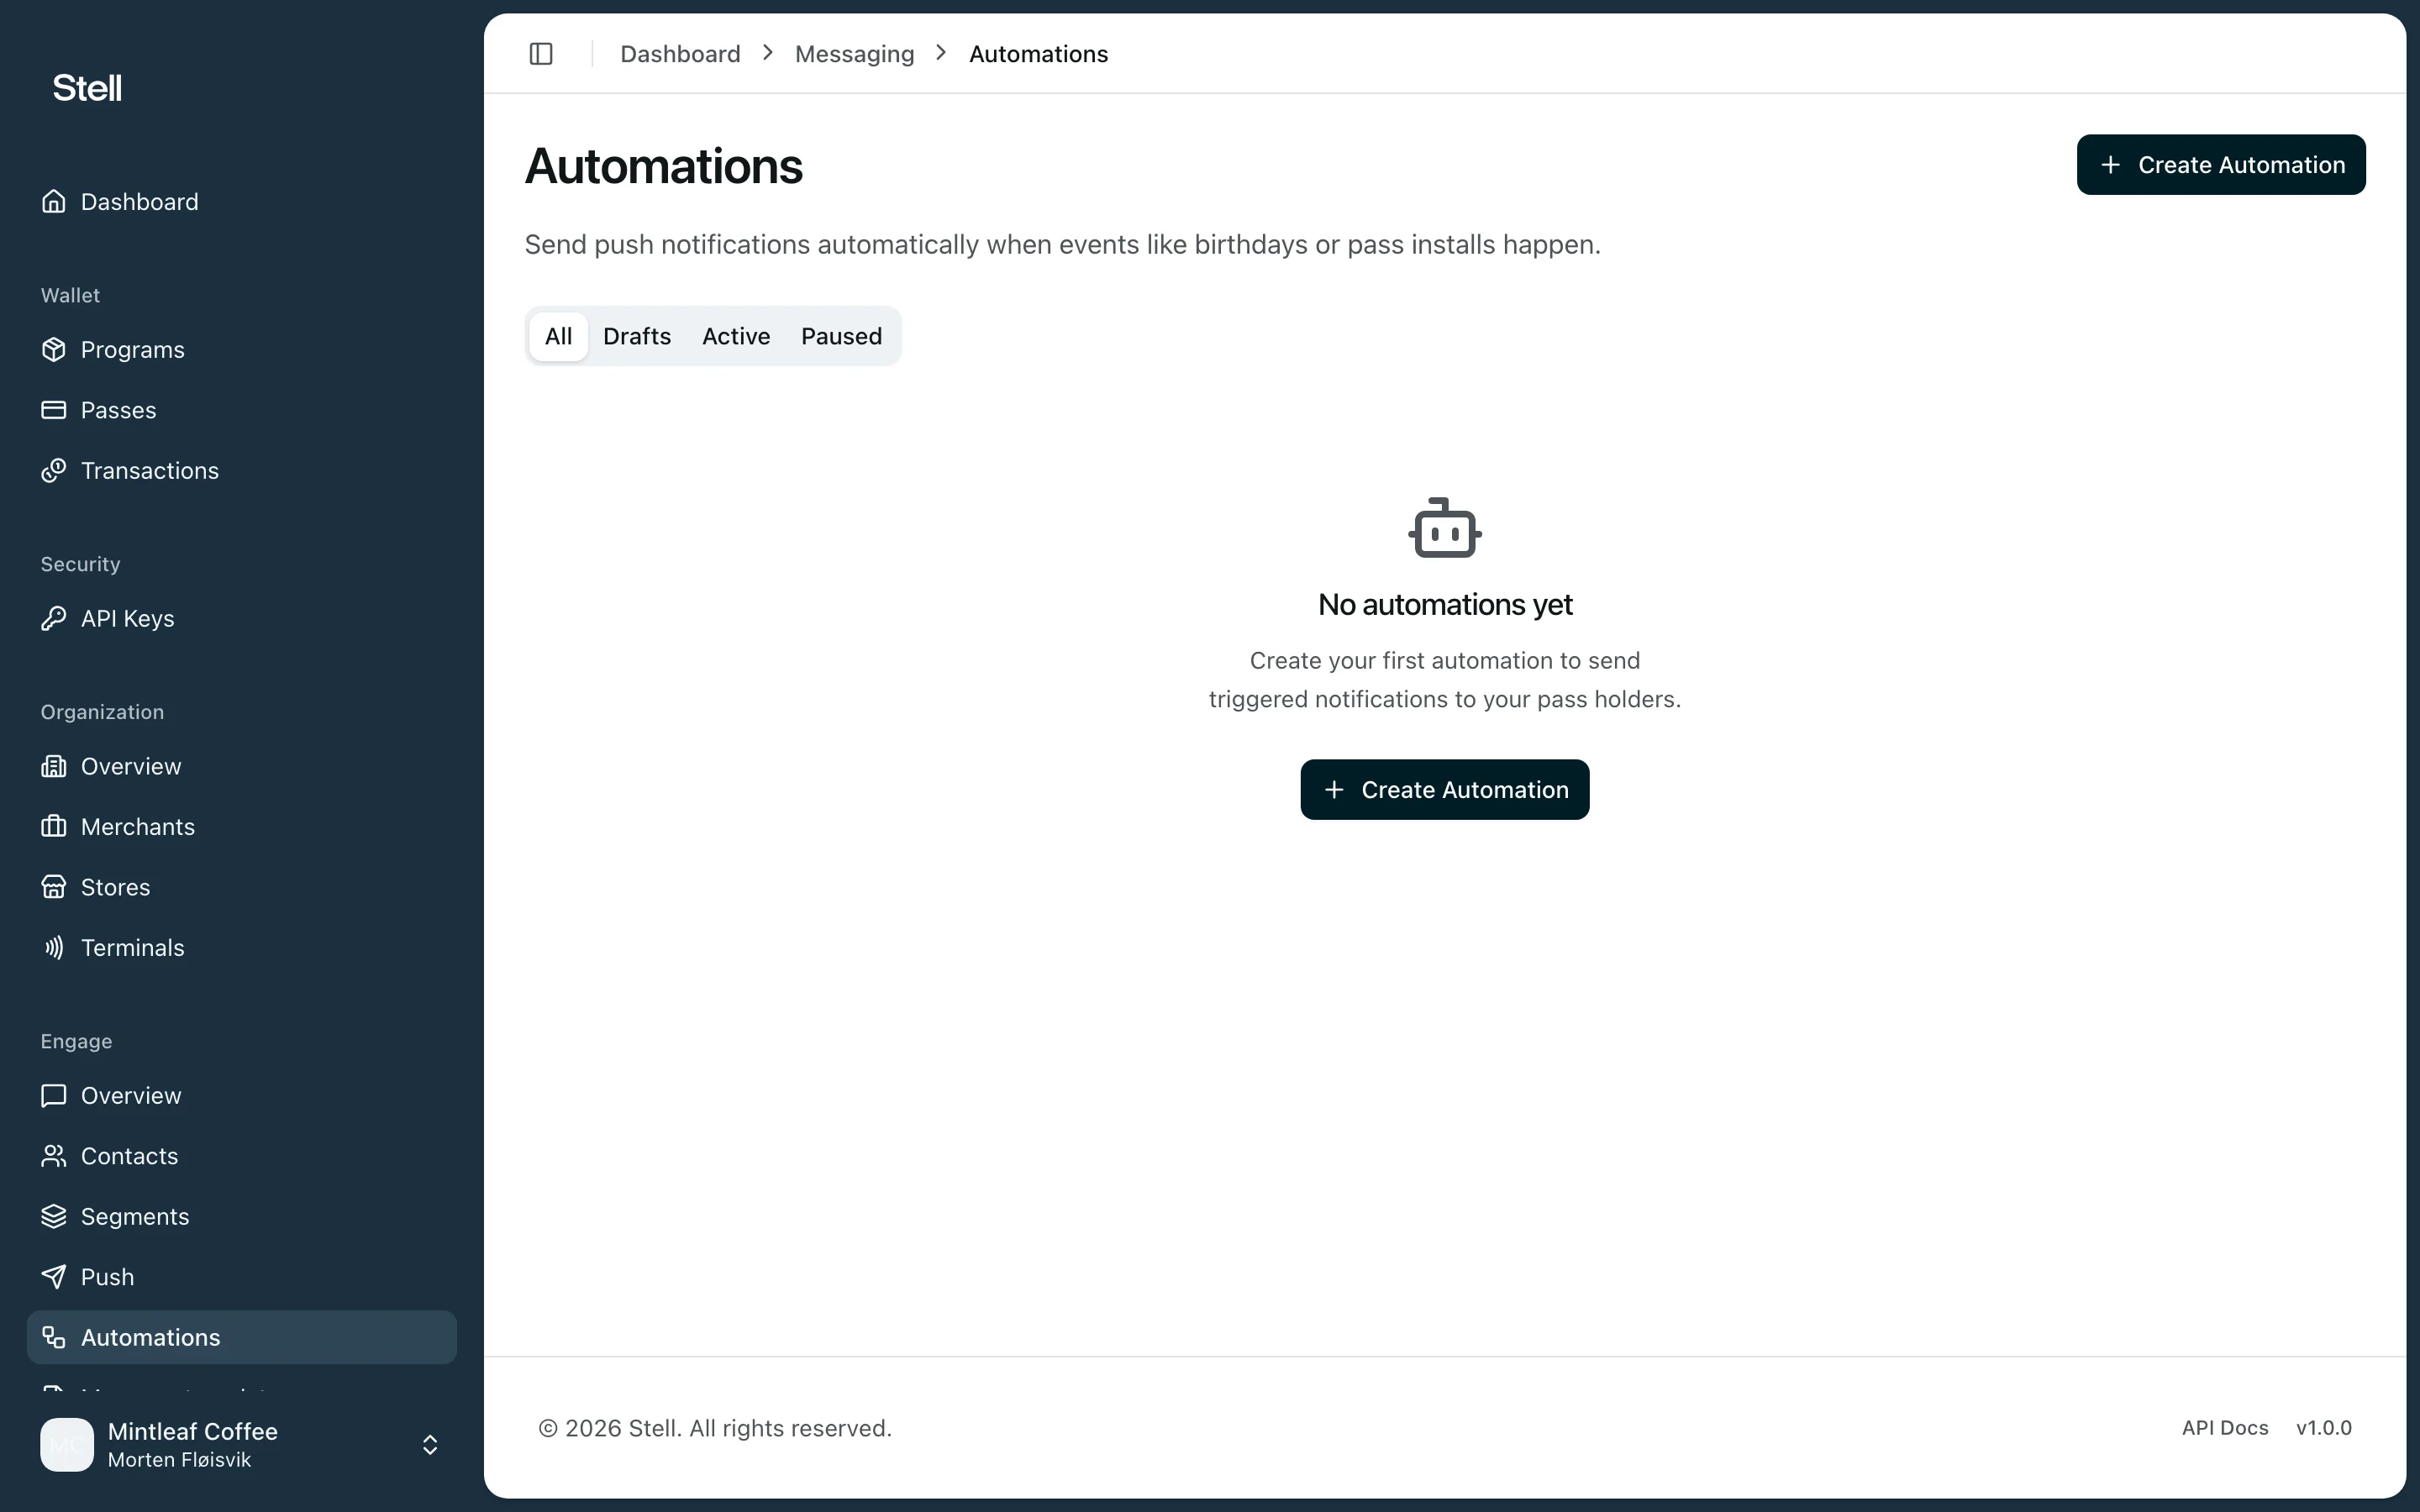
1. Open **Automations** in the sidebar and click **Create Automation**.
2. Name the automation and choose the **Trigger Type** and its settings.
3. Optionally add **Conditions** to narrow who receives it, and a **Frequency Cap** (at most N times per N days) so nobody gets spammed by a repeating trigger.
4. Write the message — up to 150 characters, with variables for personalization, and a live lock-screen preview.
5. Click **Save and Activate** to start it, or **Save as Draft** to finish later.
The trigger type is fixed once the automation is created. To switch triggers, create a new automation.
## Manage automations
The automations list groups everything under **All**, **Drafts**, **Active**, and **Paused**. Open an automation to see its stats — total sent, queued, delivery rate, and when it last triggered — and use **Pause** / **Activate** to stop and resume it, or **Edit** to change its settings and message.
## Triggers
| Trigger | Fires |
| -------------------- | ------------------------------------------------------------------------------------------- |
| **Pass Installed** | When a new pass is added to a wallet — optionally delayed by a number of hours |
| **Birthday** | On or around the contact's birthday — use days before or after (for example, 7 days before) |
| **Pass Anniversary** | On the anniversary of the pass installation |
| **Inactive Days** | When a contact hasn't engaged for a number of days |
| **Points Earned** | When points reach a threshold |
| **Tier Changed** | When the customer's loyalty tier changes |
## Create an automation
1. Open **Automations** in the sidebar and click **Create Automation**.
2. Name the automation and choose the **Trigger Type** and its settings.
3. Optionally add **Conditions** to narrow who receives it, and a **Frequency Cap** (at most N times per N days) so nobody gets spammed by a repeating trigger.
4. Write the message — up to 150 characters, with variables for personalization, and a live lock-screen preview.
5. Click **Save and Activate** to start it, or **Save as Draft** to finish later.
The trigger type is fixed once the automation is created. To switch triggers, create a new automation.
## Manage automations
The automations list groups everything under **All**, **Drafts**, **Active**, and **Paused**. Open an automation to see its stats — total sent, queued, delivery rate, and when it last triggered — and use **Pause** / **Activate** to stop and resume it, or **Edit** to change its settings and message.